
It is extremely important to keep your institution’s list of users up to date. This ensures that your institution receives essential communications from the Clearinghouse and that your information remains secure and accessible only to the appropriate parties.
Only your institution’s user administrator and service administrator can view, edit, delete, and add user accounts.
Viewing Users
Watch the video below to learn how to view all school users.
- Select the Account Management tab.
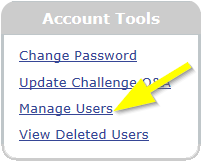
- Click Manage Users under Account Tools.
- Review the user administration terms and conditions and click I Accept.
Viewing Deleted Users
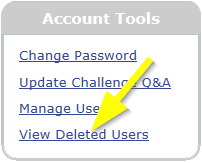
To view a list of deleted users, select the Account Management tab and click View Deleted Users under Account Tools.
The list is automatically sorted by timestamp from newest to oldest.

Managing Users
Watch the video below to learn how to manage an existing user.
Editing a User
- On the Manage Users page, click the name of the user you would like to edit.
- Edit the fields under Personal Information as needed.
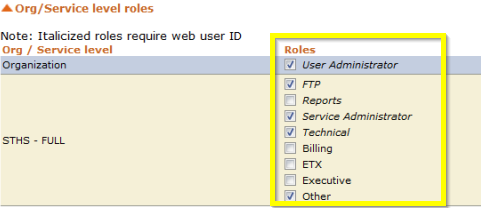
- To change the user’s roles, check or uncheck options in the Roles column. Hover over a role name to view a description of the role. For more information about user roles, see About User Roles.
- To delete a user click Delete User Profile next to the user’s status. You will be prompted to re-assign a required role if needed.

- When finished, click Submit.
Adding a New User
Watch the video below to learn how to add a new user.
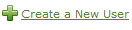
- On the Manage Users page, click Create a New User, in bottom-right corner of the screen.
- Enter the user’s contact information (all fields are required).
- Click Submit.
- Click OK on the pop-up.
- Add Roles and Web ID as needed. Web IDs must be no more than nine characters without spaces.
- When finished, click Submit.
