
- Log into your Verification Services account.
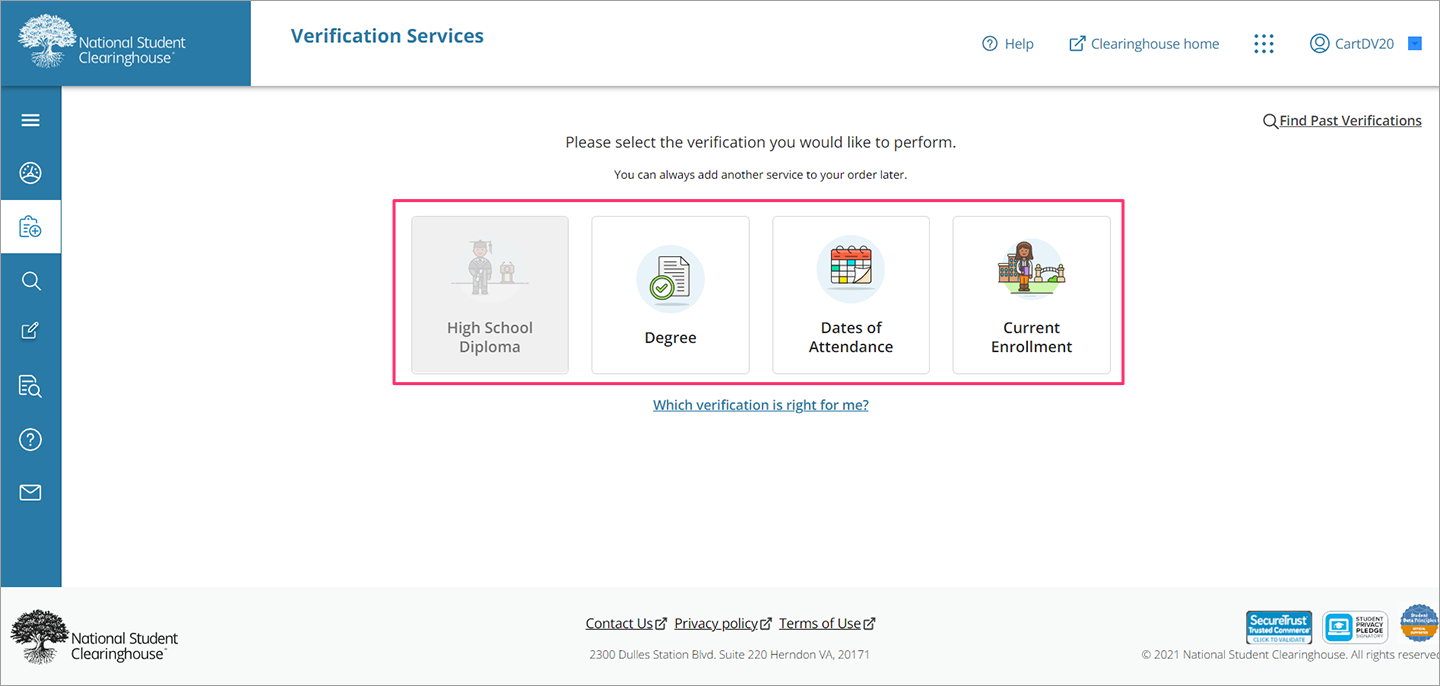
- Click the verification type you would like to perform.
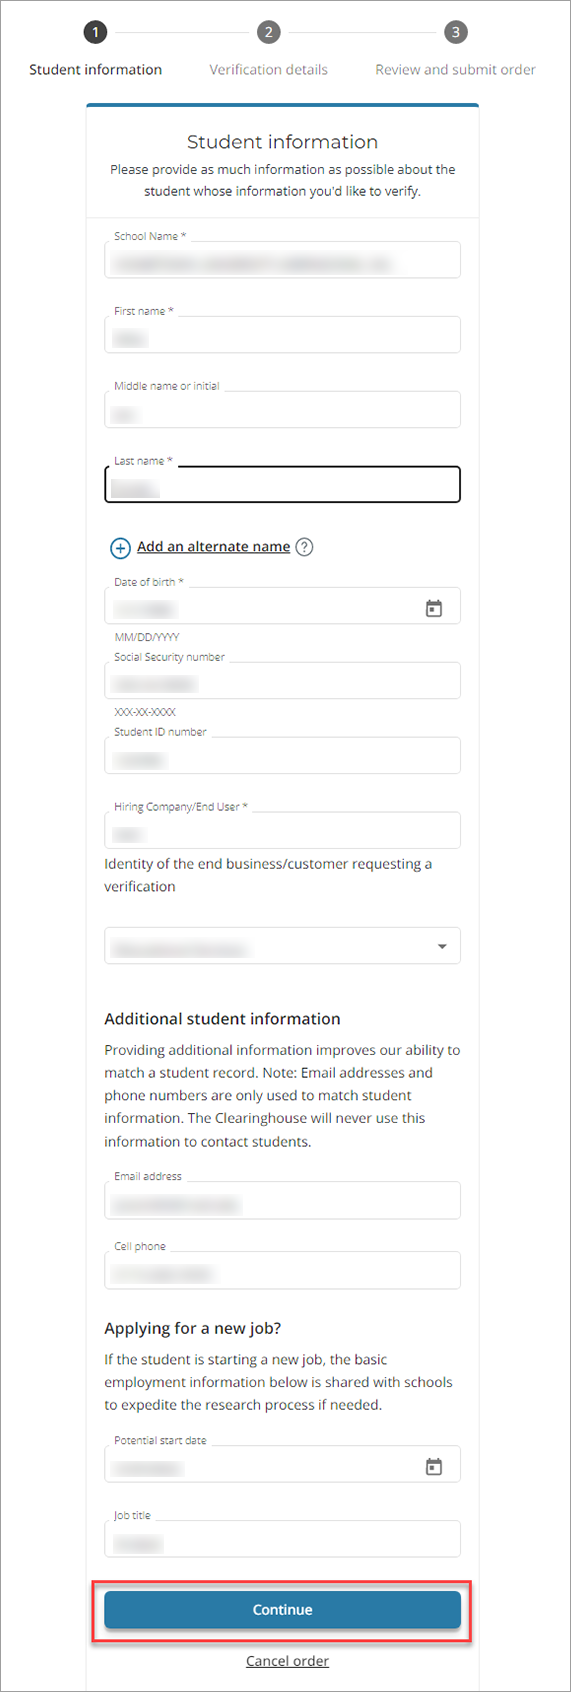
- On the “Student information” page, complete the fields to provide information on the student you would like to verify. Required fields are designated with an asterisk (*).
Note: Depending on your account type, you might see some variations in the available fields. For example, the information for students (self-verify users) is automatically populated from the data provided when they created their account.
- Select “Continue.”
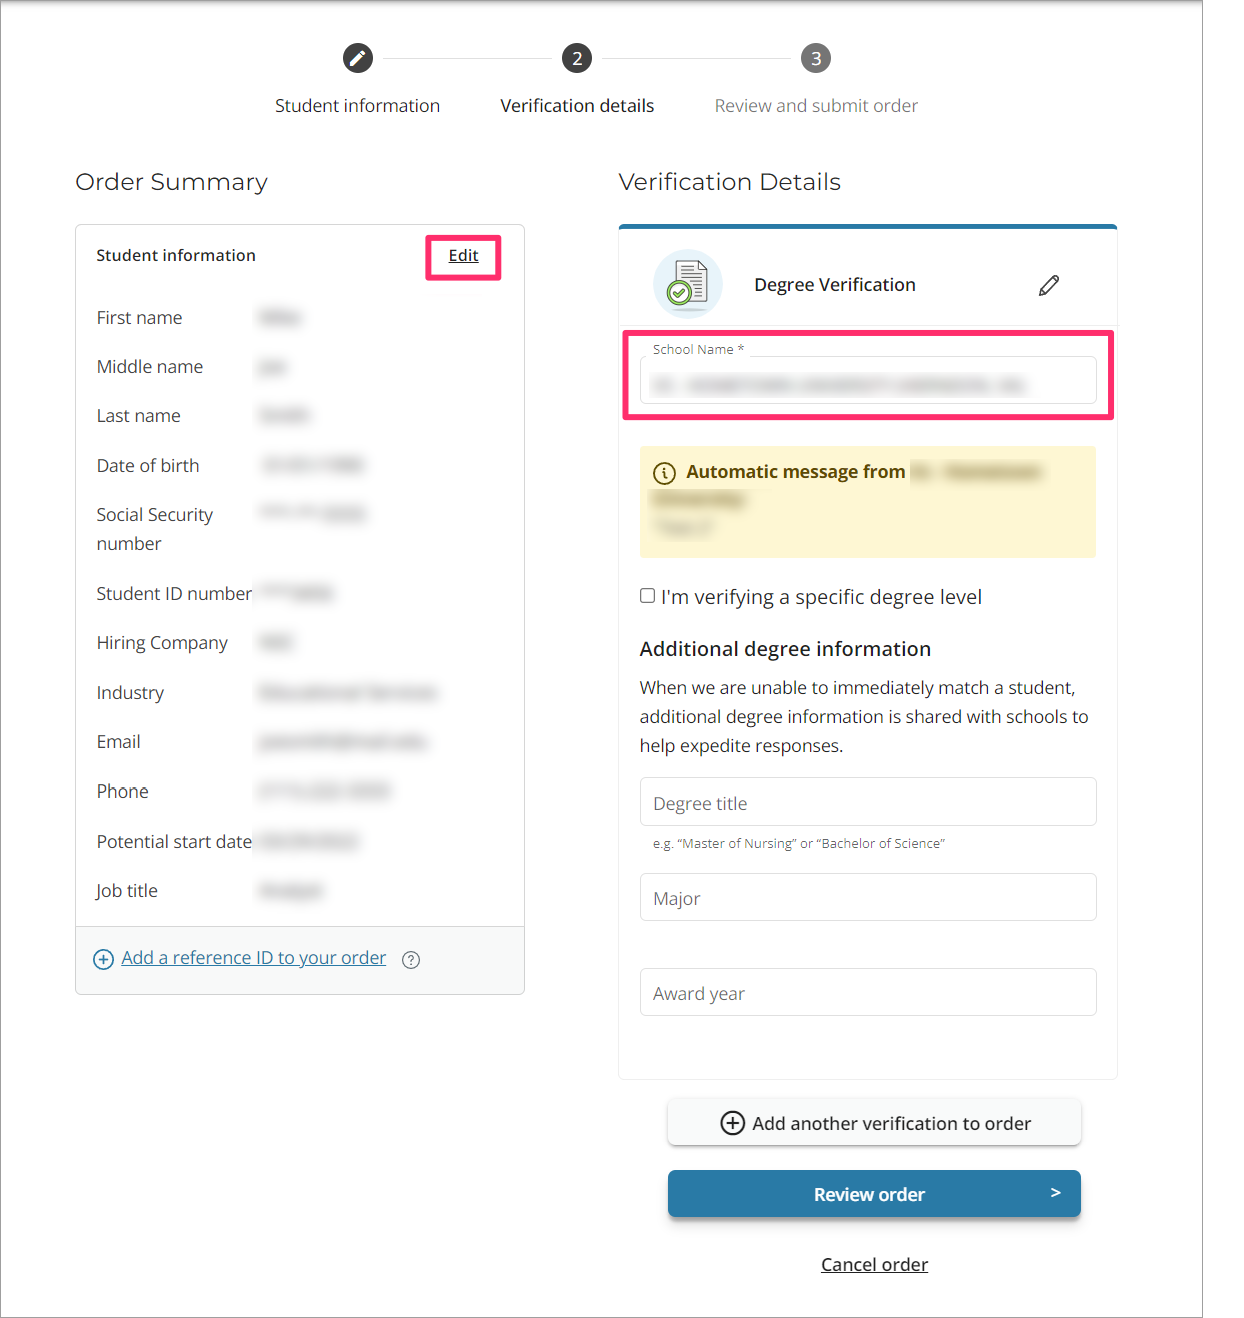
- Confirm or edit the student information and/or school from which you are requesting verification.
If you need to update student information, click “Edit” in the upper right corner of the “Order Summary” panel. If you need to update the school, edit the value in the “School Name” field.
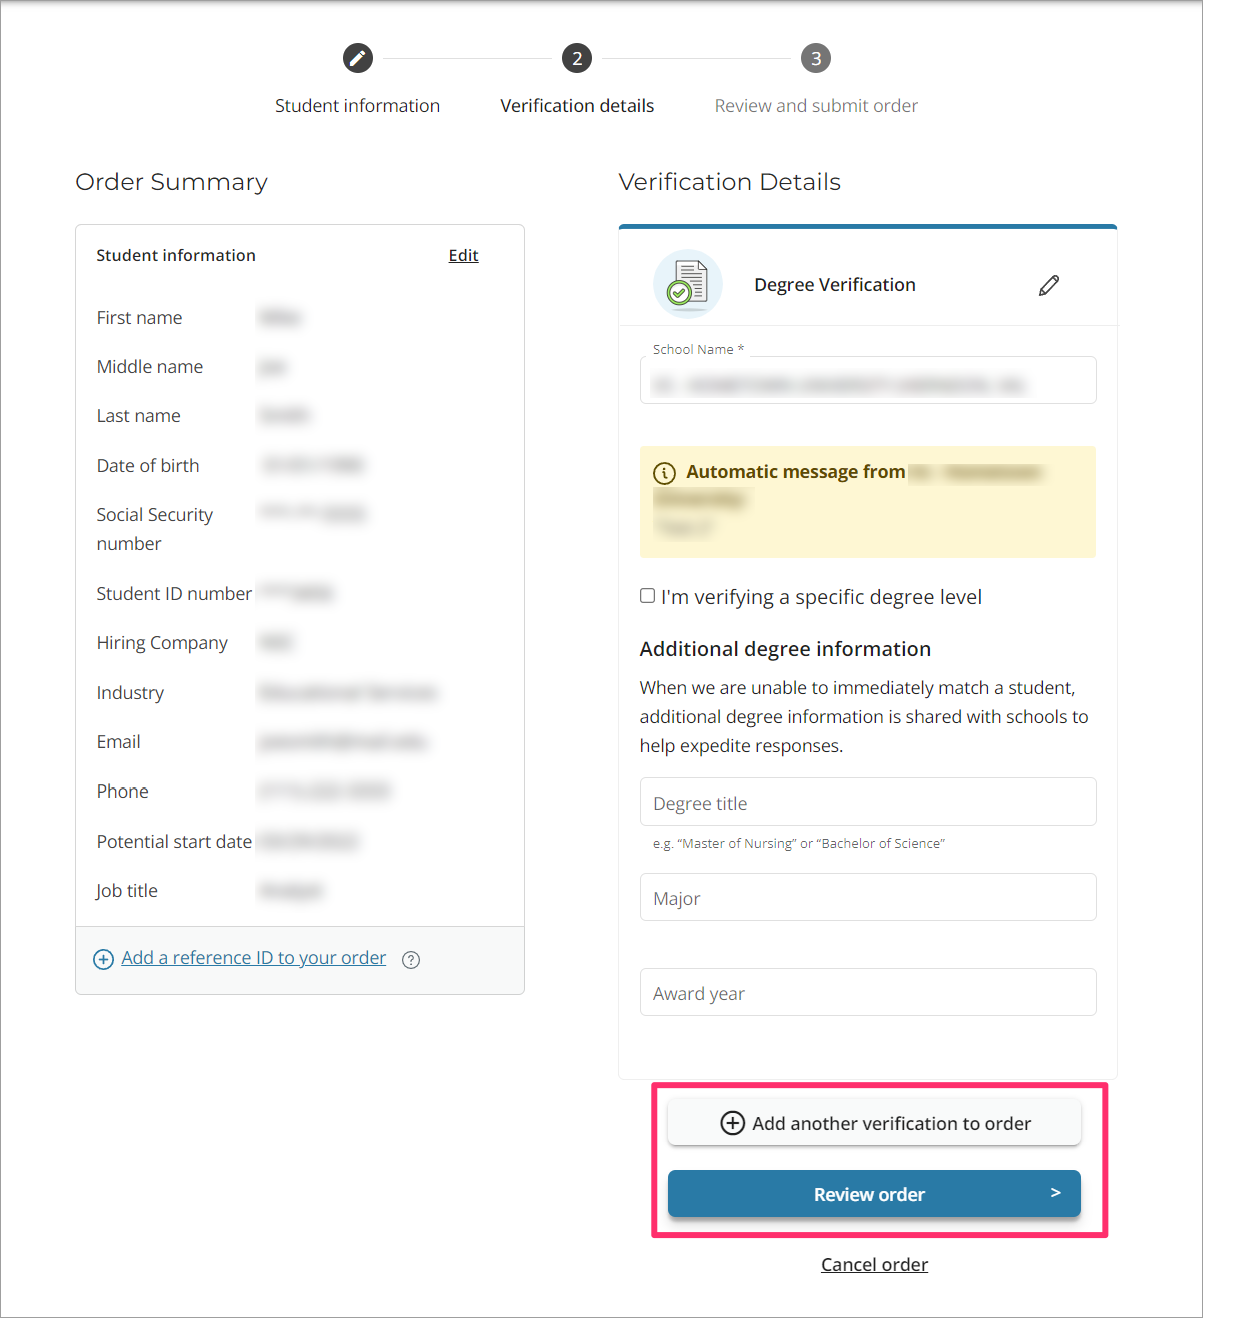
- If you would like to add another verification to your order for the same student, click “Add another verification to order” and repeat step 4.
- Select “Review order.”
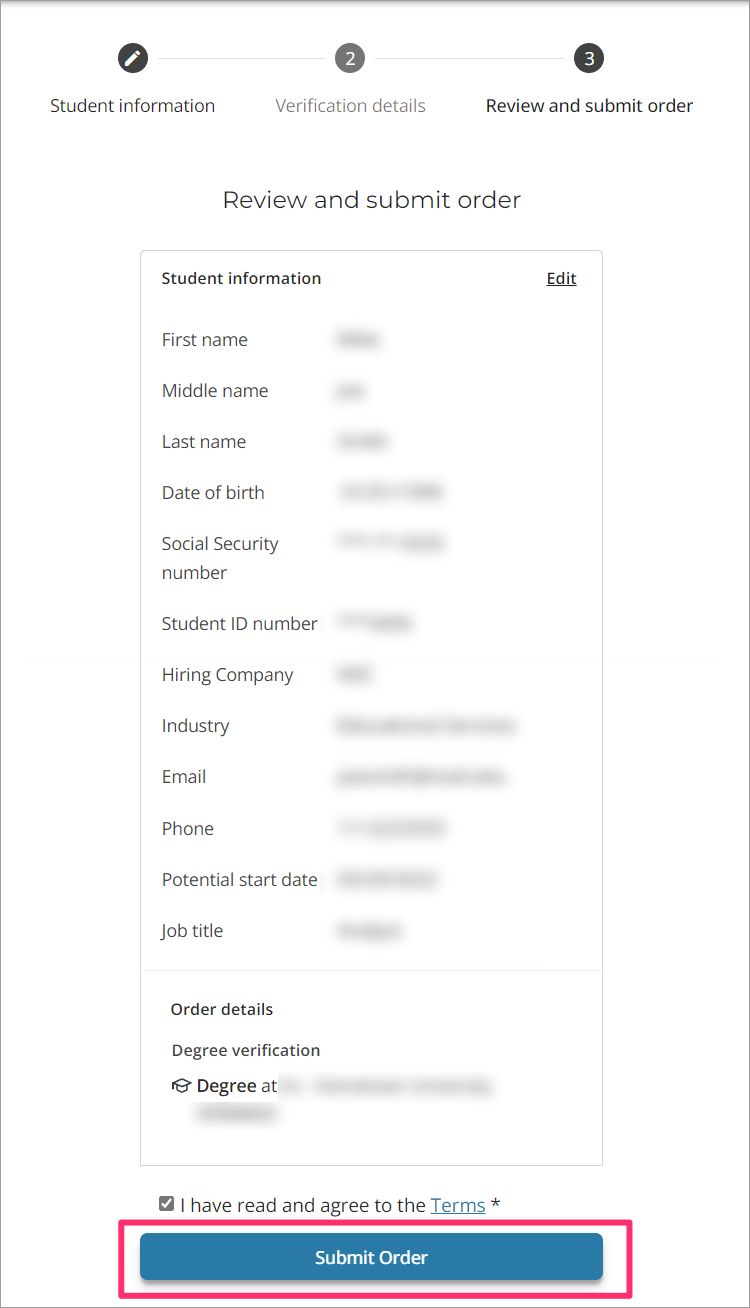
- If you are a contracted user (you have a signed agreement with the Clearinghouse), you will see the “Review and submit order” page.
- Confirm all information for the order is correct.
- Check the box to agree to the terms.
- Click “Submit Order.”
- If you are not a contracted user (you do not have a signed agreement with the Clearinghouse), you must enter your payment information before you can submit your order.
- On the “Billing Information and Submit Order” page, confirm all information for the order is correct
- Enter or confirm your payment information.
- If you previously saved a credit card, it will automatically appear and be selected for use for your transaction.
- If you did not previously save a credit card, you must provide your credit card information before you can proceed.

- Check both boxes at the bottom of the “Payment Information” page.
- Once you click the first box, the “Terms and Conditions” pop-up will appear. Scroll down to read the agreement and click “Accept” at the end.
- The second checkbox confirms the total payment, including any applicable sales tax (see Apply for Sales Tax Exemption).
- Click “Submit Order.”
