> Logging On
1. Go to https://ftps.nslc.org ![]() . (You may want to bookmark this site.)
. (You may want to bookmark this site.)
2. The first time you log into your secure FTP account, you will need to do some minor setup. You will be prompted to change your password. Passwords must adhere to the following minimum requirements:
- Be at least 13 characters in length
- Not contain a “dictionary word”
- Contain both upper- and lower-case letters
- Contain at least one alphabetical and one numerical character
- Contain at least one special character (such as $ or !)
- Not resemble your username
- Not contain sequential or repeating letters or numbers (AAA or ABC, 111 or 123)
- Passwords will expire every 90 days
For more information, read our FTP account password policy (pdf) ![]() .
.
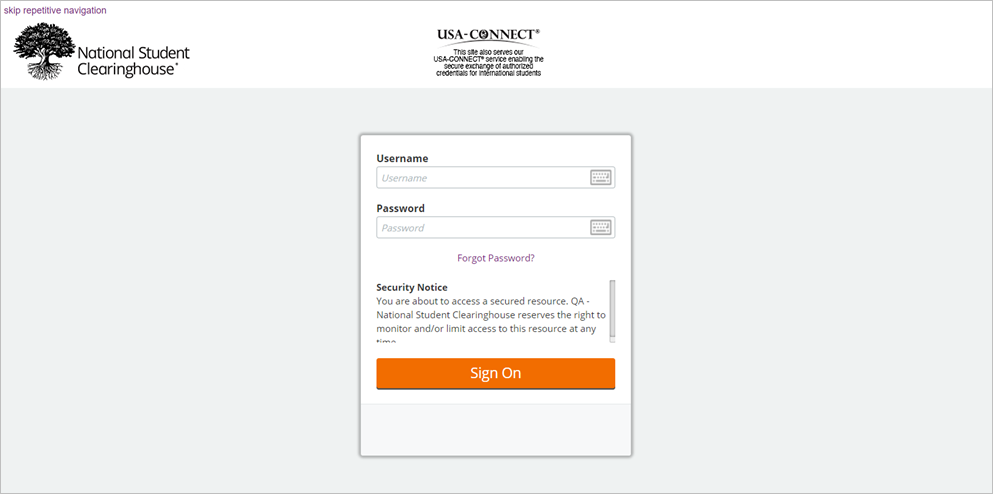
3. Whenever you log on to your secure FTP account, you can click the keyboard icons next to the username and password fields to open a clickable keyboard that can be used to enter your authentication information.
- Username is NOT case-sensitive
- Password IS case-sensitive
- Your account will be locked if you try to log in too many times with an incorrect password (see Troubleshooting section for more information)
4. Click “Sign On”
Using the clickable keyboard can help thwart keystroke loggers, and is highly recommended when using a public or shared computer.
If you have forgotten your secure FTP user name or password, contact secureftp@studentclearinghouse.org.
For more information, read our FTP account password policy (pdf) ![]() .
.
> Multi-Factor Authentication
You can enable multi-factor authentication on your FTP account via a synchronized authenticator application on your smart device, such as Google Authenticator. Follow the steps below to enable multi-factor authentication.
NOTE: If your FTP account has shared access across multiple users, all users should be present during the multi-factor authentication setup process.
1. Download an authenticator application from your services application store.
Use only applications that are verified by your application service. We recommend Google Authenticator.
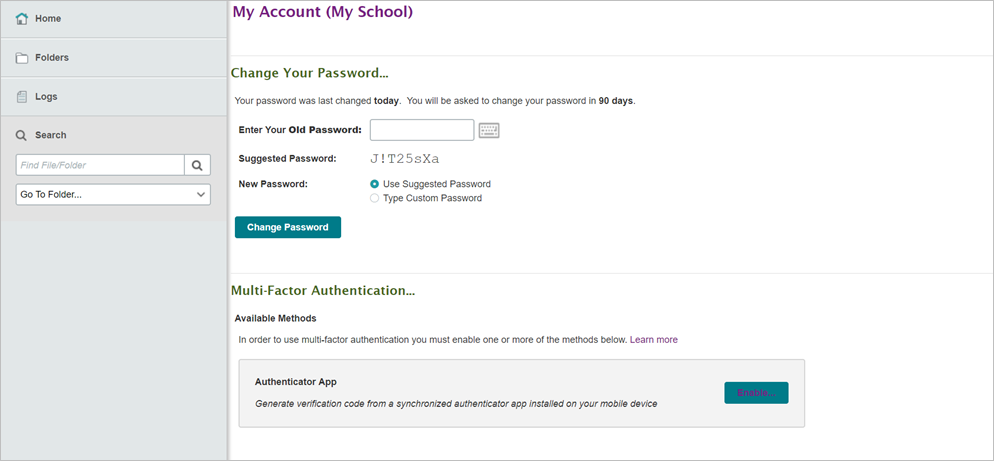
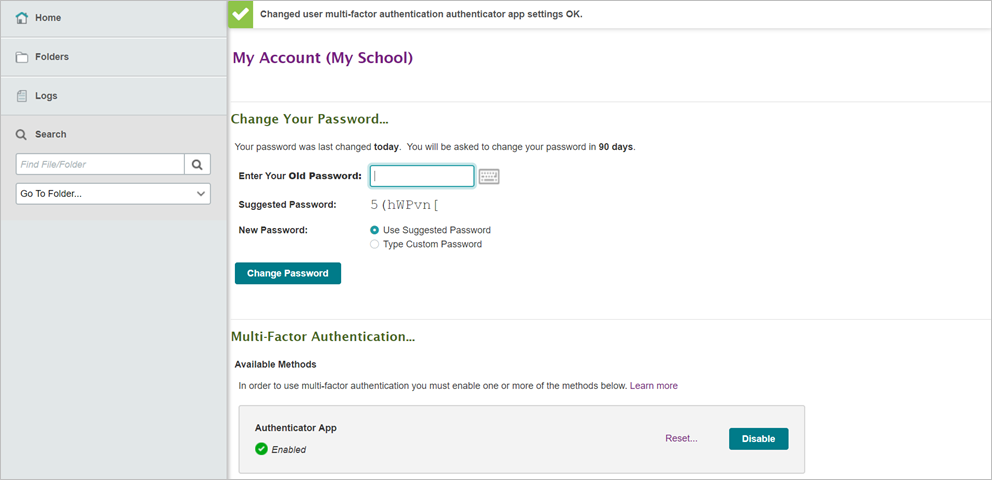
2. Navigate to “My Account.”
3. Click “Enable” on the Authenticator App tab.
4. Use the scanner in the application to scan the supplied QR code.
Ensure all users who access the account scan the generated QR code during the setup process. All users will have to have the authenticator application installed on their devices to enable multi-factor authentication.
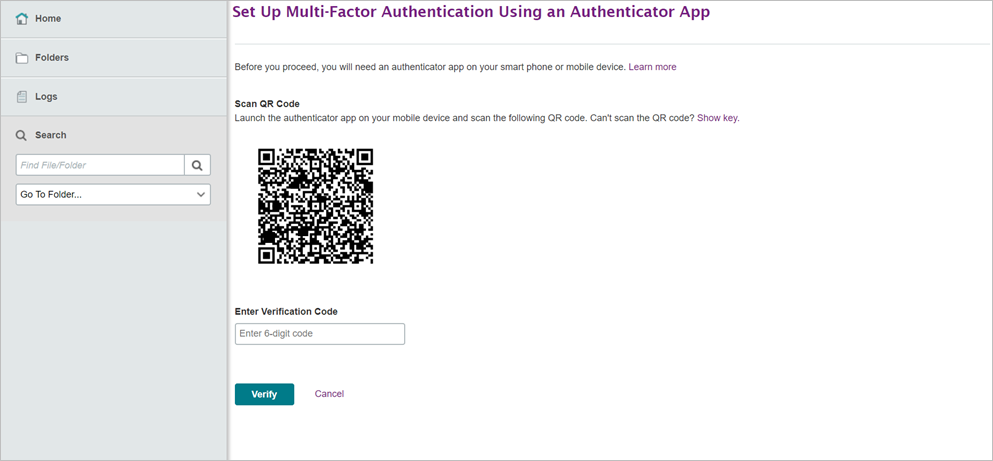
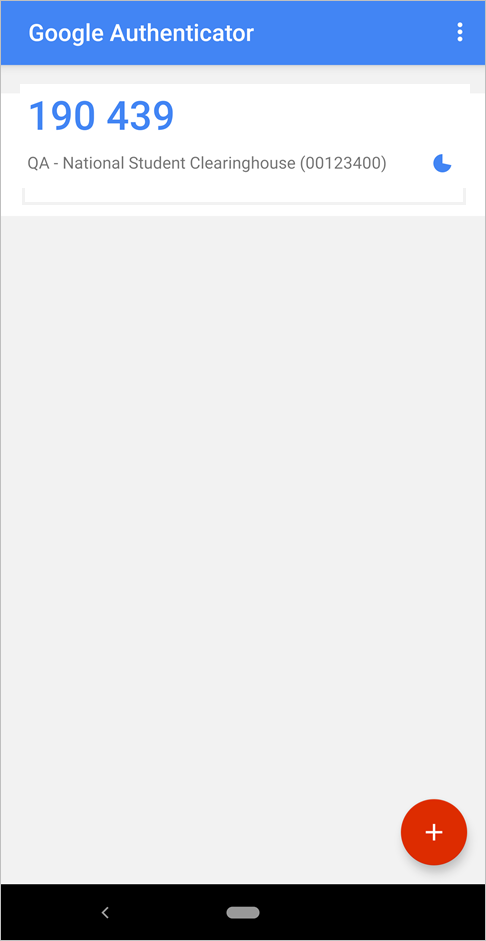
5. Verify that the six-digit code provided is the same on all users’ devices. Enter the six-digit verification code provided.
Note: There will always be a space between each three-digit number set. You should enter the space as well during verification.
6. Multi-factor authentication is now enabled.
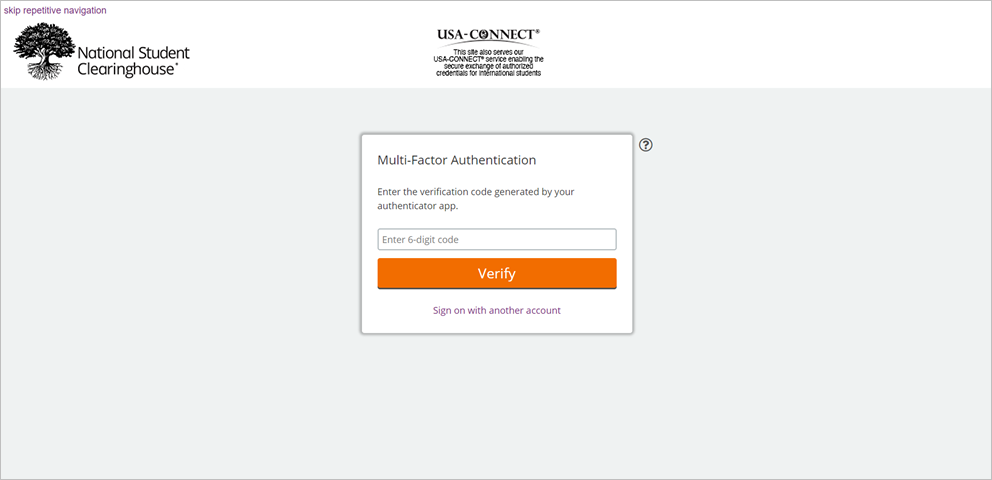
After entering your password to log in, you will be prompted for a six-digit verification code generated within the authenticator application. Enter the six-digit code provided to log in to your account.
Note: There will always be a space between each three-digit number set. You should enter the space as well during verification.