
Table of Contents
You can use the Secure Portal to grant authorizations to third parties so they can view dashboards (excluding the Financial Aid dashboard), view the Financial Aid dashboard, and/or receive de-identified cohort and course analysis-ready files
You can only add or modify authorizations if your account has the Data Authorizer role. Otherwise, you can only view existing authorizations. (View the Managing PDP User Access tutorial to learn more about user roles.)
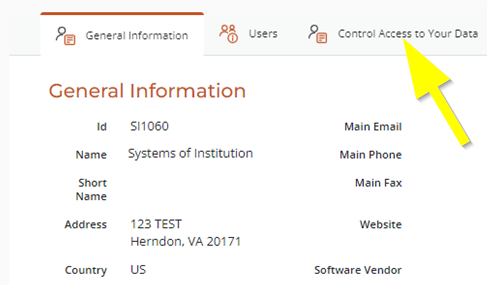
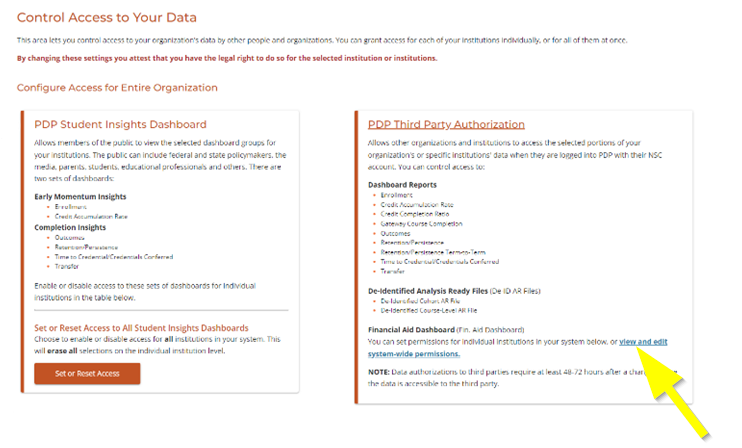
To view or edit third party authorizations, select the Control Access to Your Data tab in the Secure Portal.
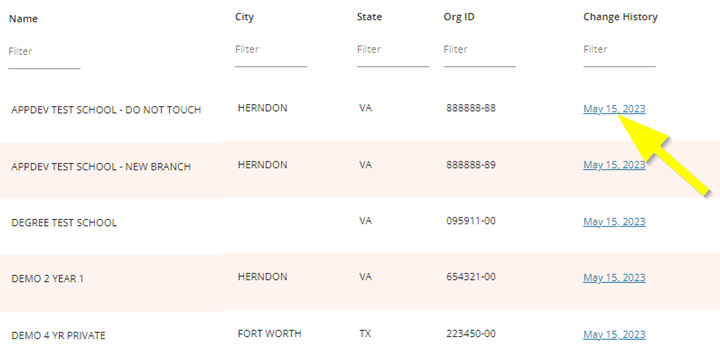
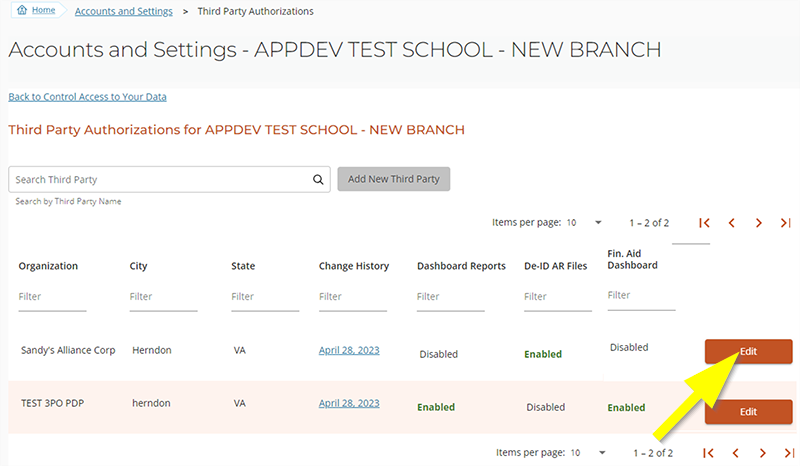
Authorizations appear as Enabled (permitted) or Disabled (not permitted). You can filter the data by specific parameters.
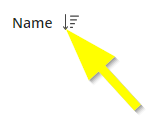
To sort the data by column, click the column header, then click the arrow on the right to sort by ascending or descending.
To view information about recent authorization changes, click the date in the Change History column.
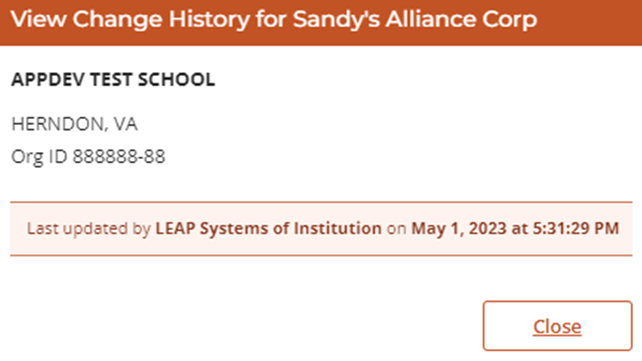
Authorizations from print Authorized Entity forms do not show institution names in the Change History details.
Individual Institutions
Adding Authorizations
- Click PDP Third Party Authorization.
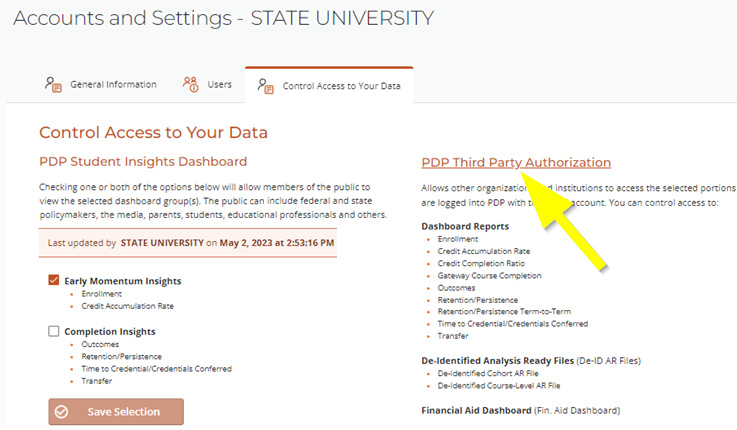
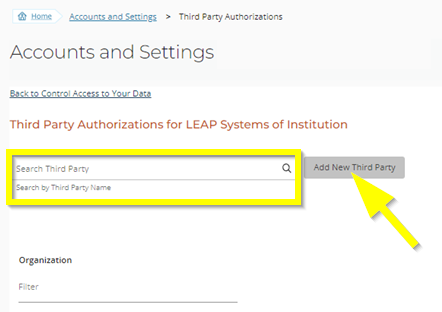
- Enter the third party name in the search box and select it from the drop-down. Only third parties with active Clearinghouse accounts are displayed. If you would like to add a third party, contact us at pdpservice@studentclearinghouse.org.
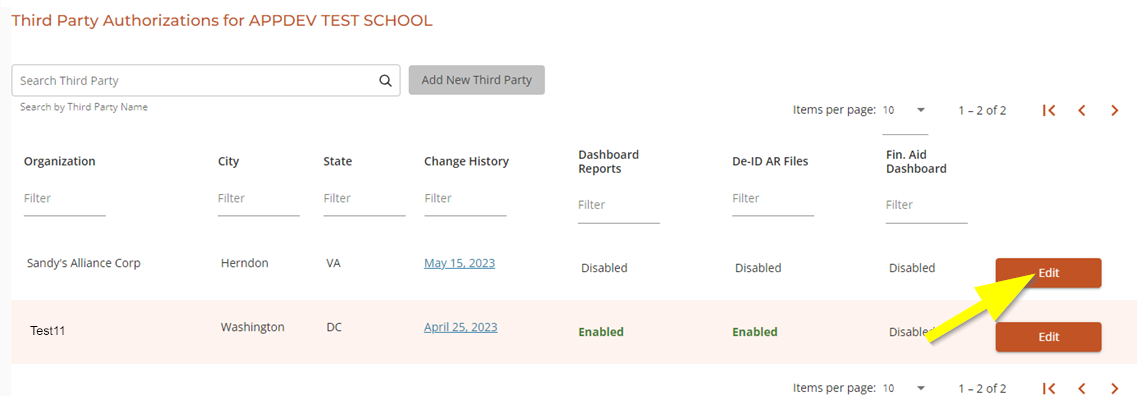
- Click Add New Third Party.
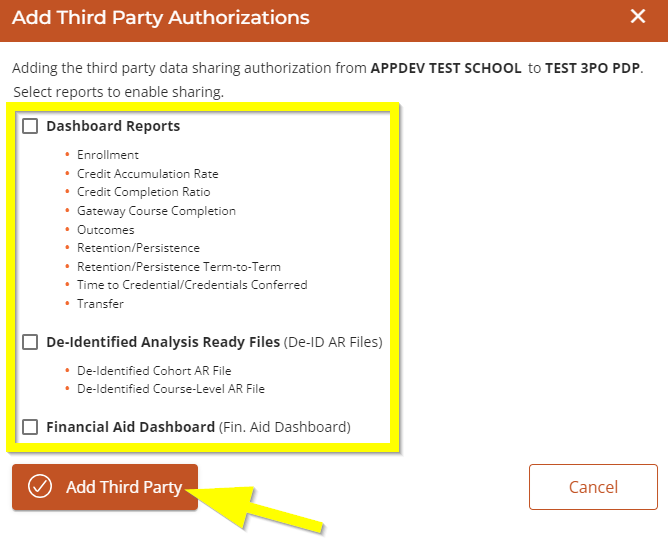
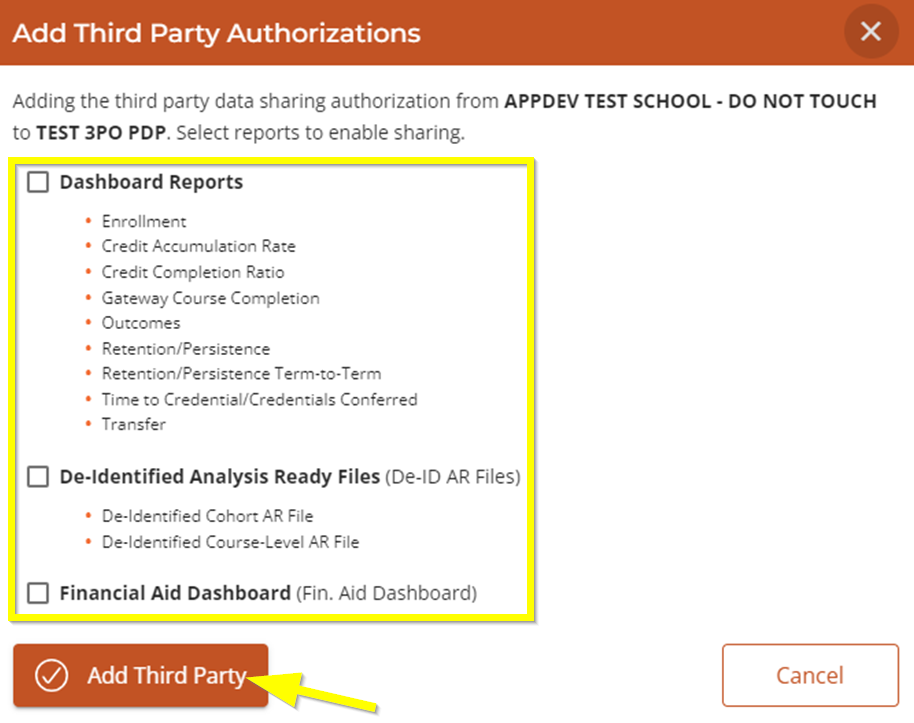
- Select the reports to which you would like to grant access.
- Click Add Third Party. Your institution’s profile will reflect the change immediately; however, it will not take effect for 48-72 hours.
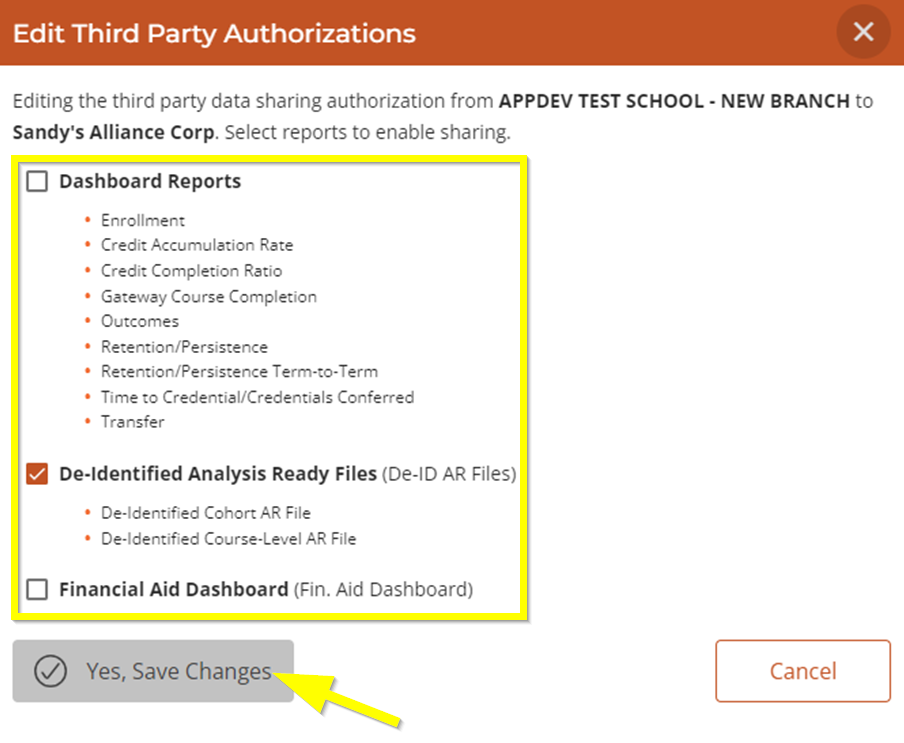
Modifying Authorizations
- Click PDP Third Party Authorization.
- Click Edit next to the third party you would like to modify.
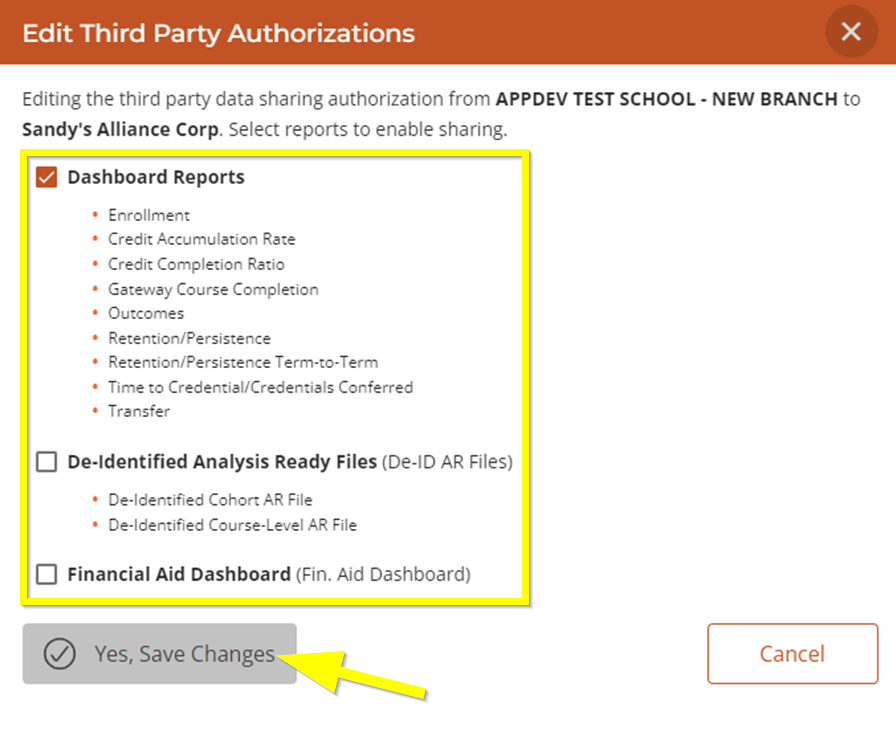
- Select the reports for which you would like to add access and/or uncheck reports for which you would like to remove access.
- Click Yes, Save Changes. Your institution’s profile will reflect the change within 48-72 hours.
Systems of Institutions
Adding System-Wide Authorizations
- Click View and Edit System-Wide Permissions on the PDP Third Party Authorization tile.
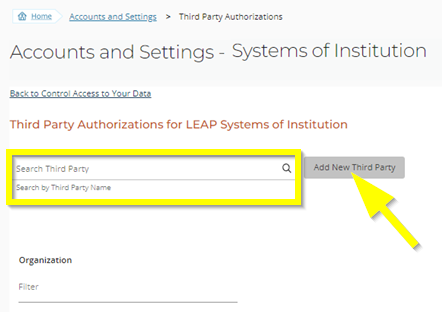
- Enter the third party name in the search box and select it from the drop-down. Only third parties with active Clearinghouse accounts are displayed. If you would like to add a third party, contact us at pdpservice@studentclearinghouse.org.
- Click Add New Third Party.
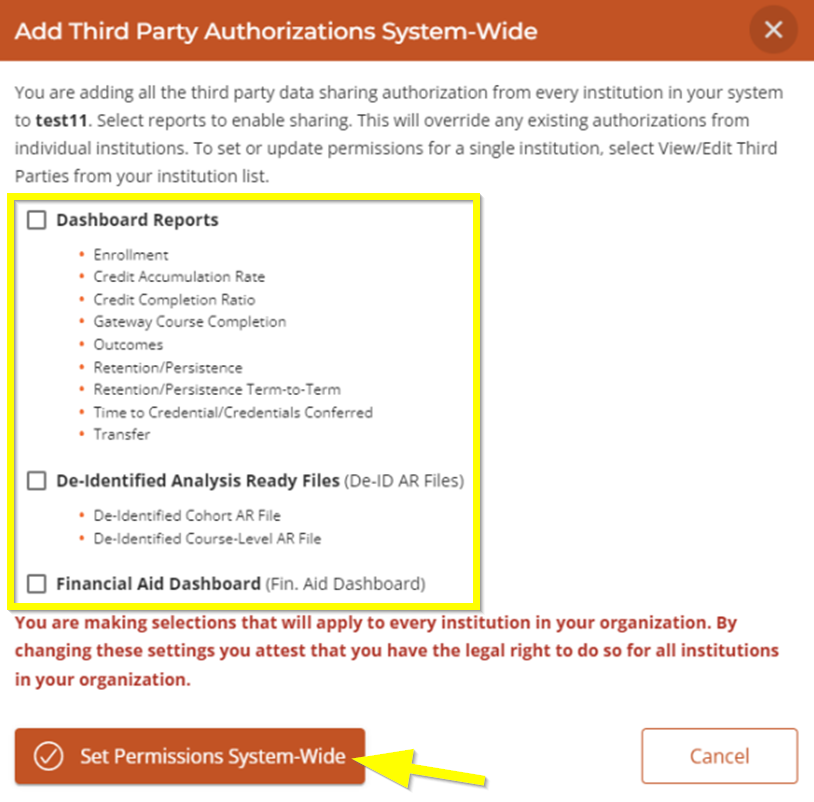
- Select the reports to which you would like to grant access.
- Click Set Permissions System-Wide. All institutions in the system will reflect the change immediately; however, it will not take effect for 48-72 hours.
Adding Institution-Specific Authorizations
- Click View/Edit Third Parties next to the institution name in the institutions list.
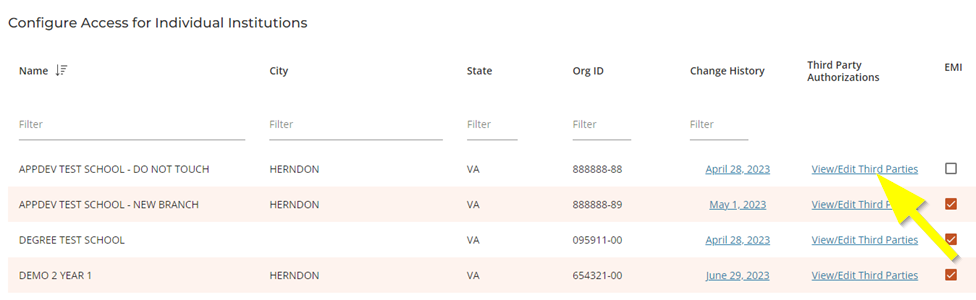
- Enter the third party name in the search box and select it from the drop-down. Only third parties with active Clearinghouse accounts are displayed. If you would like to add a third party, contact us at pdpservice@studentclearinghouse.org.
- Click Add New Third Party.
- Select the reports to which you would like to grant access.
- Click Add Third Party. The institution will reflect the change immediately; however, it will not take effect for 48-72 hours.
Modifying System-Wide Authorizations
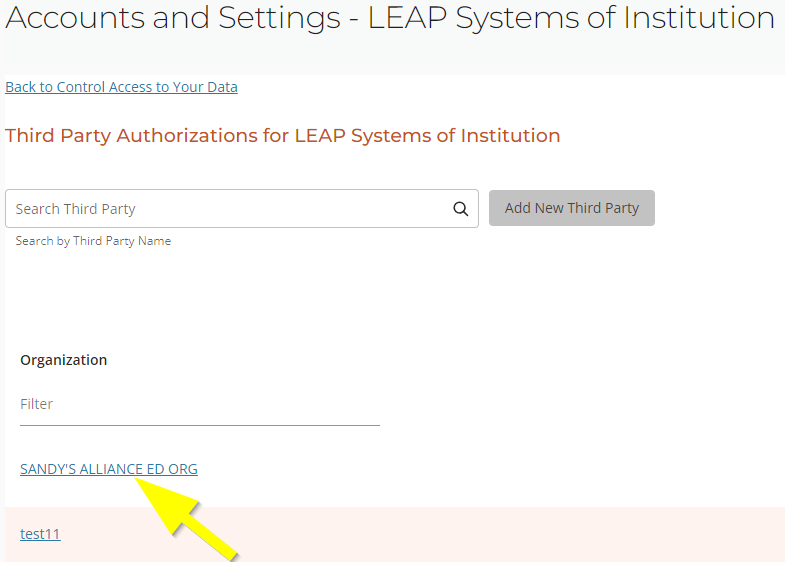
- Click View and Edit System-Wide Permissions on the PDP Third Party Authorization tile.
- Click the third party’s name in the organizations list.
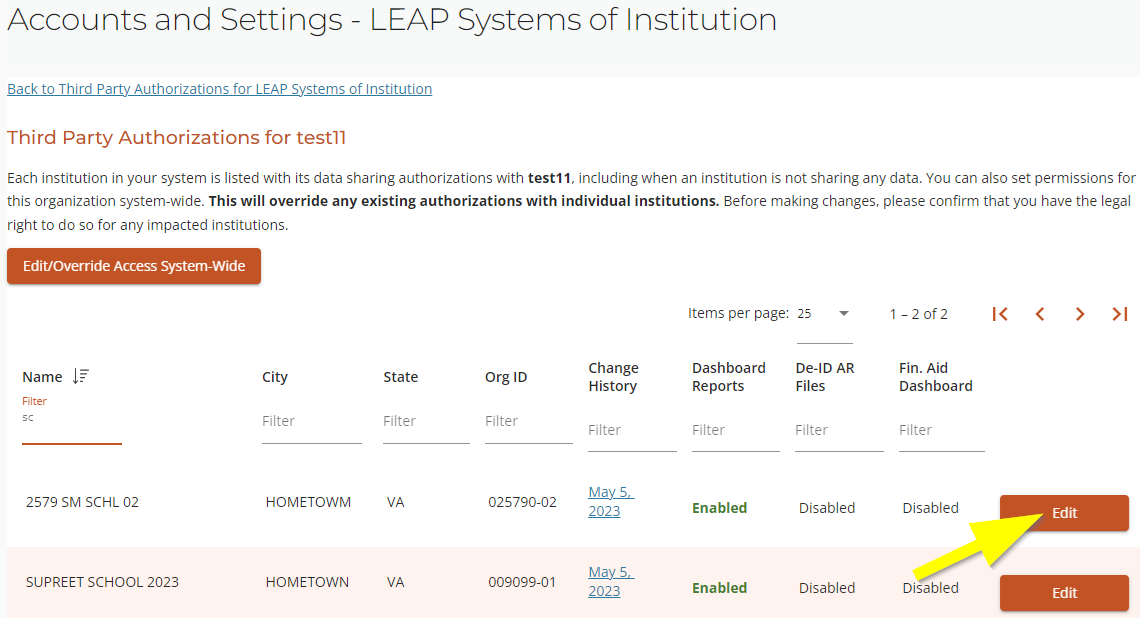
- Click Edit/Override Access System-Wide.
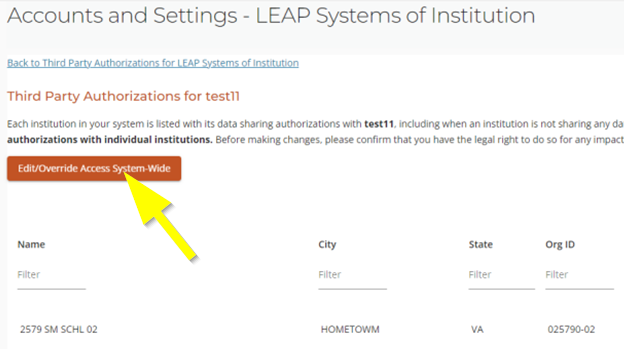
- Select the reports to which you would like to grant access.
- Click Set Permissions System-Wide. All institutions in the system will reflect the change immediately; however, it will not take effect for 48-72 hours.
Modifying Institution-Specific Authorizations
There are two ways to modify institution-specific authorizations for a system of institutions: you can select the third party first, then the institution or select the institution first, then the third party.
Third Party > Institution
- Click View and Edit System-Wide Permissions on the PDP Third Party Authorization tile.
- Click the third party’s name in the organizations list.
- Click Edit next to the institution’s name in the institutions list. If permissions had been granted to some but not all institutions, you will see both Add and Edit.
- Select the reports for which you would like to add access and/or uncheck reports for which you would like to remove access.
- Click Yes, Save Changes. The institution will reflect the change immediately; however, it will not take effect for 48-72 hours.
Institution > Third Party
- Click View/Edit Third Parties next to the institution name in the institutions list.
- Click Edit next to the third party you would like to modify.
- Select the reports to which you would like to grant access.
- Click Yes, Save Changes. The institution will reflect the change immediately; however, it will not take effect for 48-72 hours.
Third Parties
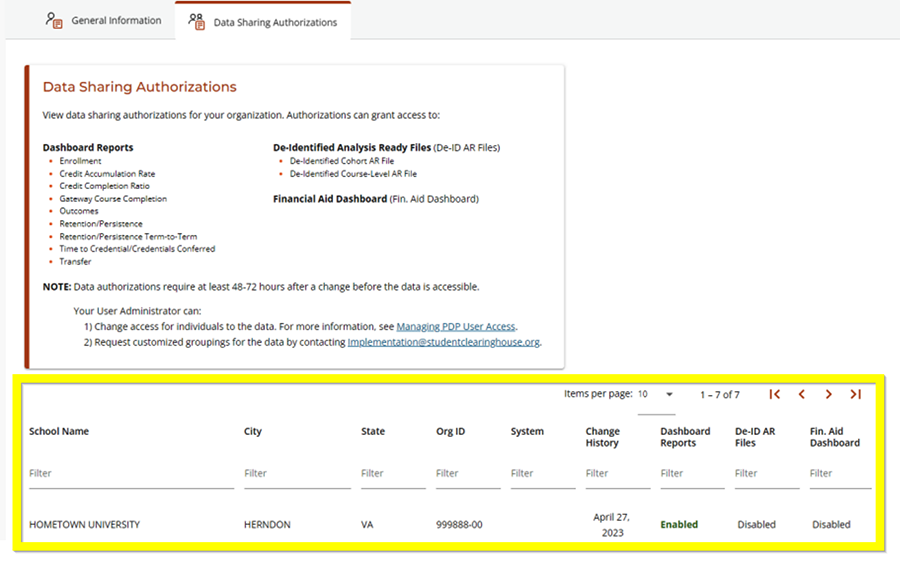
Third parties have access to the portal to view their data authorizations from institutions and systems of institutions. Third party users can select the Data Sharing Authorizations tab to view which institutions and/or systems of institutions have granted them access, but they cannot make changes.
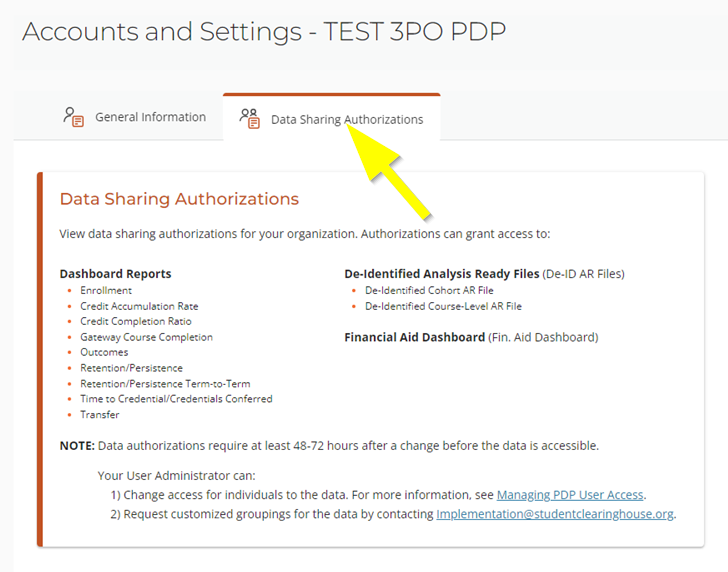
If the third party has authorizations granted to them, they will see them displayed in a list, which they can sort by institution or system name.
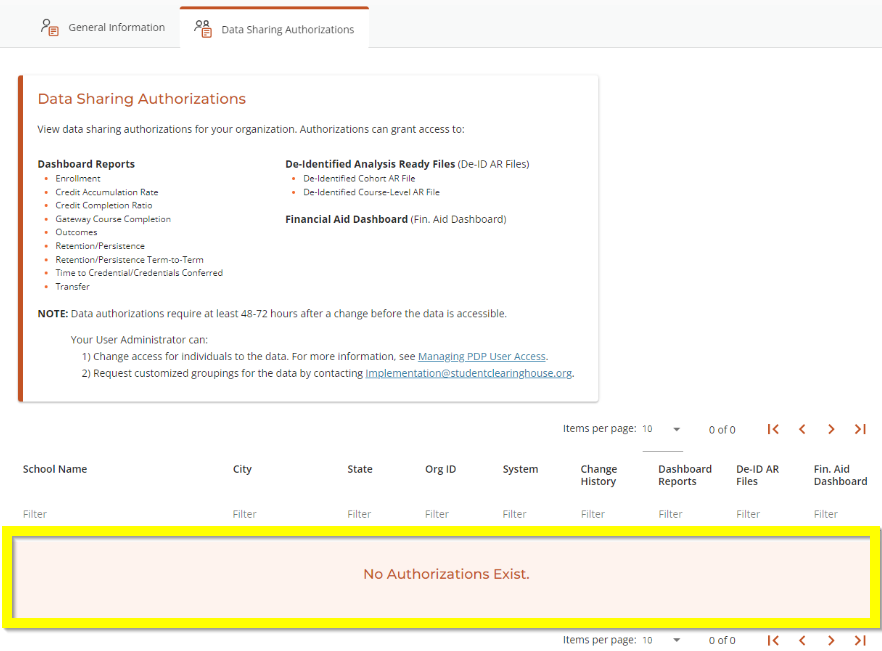
If the third party does not have any authorizations, the list will not display.
If a third party requires specialized groupings, advise them to contact us at implementations@studentclearinghouse.org.
