
Watch the vide below to learn how to submit a test file.
A test file allows you to review your data for formatting issues and other common errors prior to uploading the actual data via your secure FTP site.
The test file tool provides immediate feedback that helps you revise, update, and verify data to facilitate faster processing times and keep the cost of the service down.
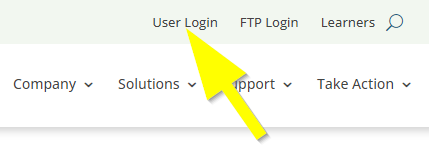
- On the Clearinghouse website, click User Login.
This login is different from your FTP login and requires different credentials.
- Log in with your StudentTracker username and password.
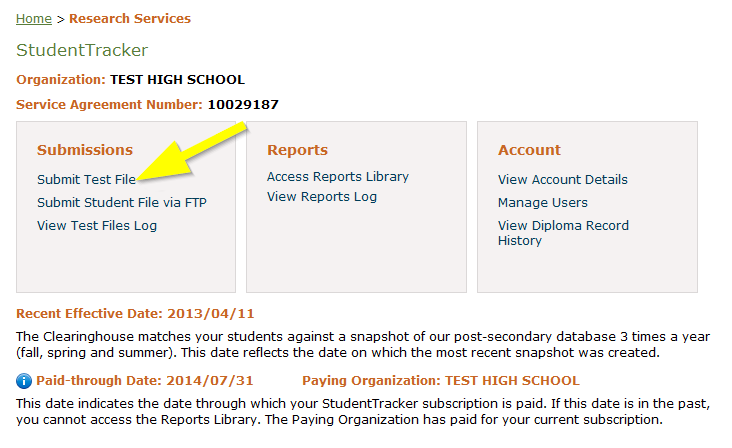
- Click Submit a Test File.
- Select either Graduate or Request from the drop-down menu.
– The graduates file (aka diploma file) contains your high school graduates. The first cell of the header row should contain HP3.
– The request file (aka ad hoc) is for a unique cohort of students or for if you are not the official issuer of the high school diploma. The first cell of the header row should contain H3.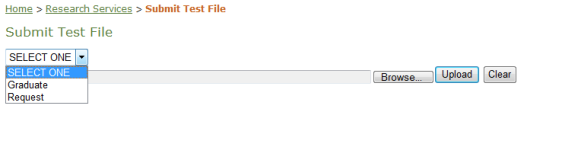
- Click Browse and select the file.
- Click Upload. If a warning appears, you will need to review it before submitting the file; however, the file will still be successfully submitted.
There is a 1,000 record limit for files submitted through StudentTracker.
Viewing the Error Resolution Details
Once the test file is uploaded, you will receive instant feedback on the error resolution screen, which provides information about why the file received errors and/or warnings as well as the steps you can take to correct them. Click Print to print the error resolution details.
StudentTracker operations does not view nor provide feedback on test files.
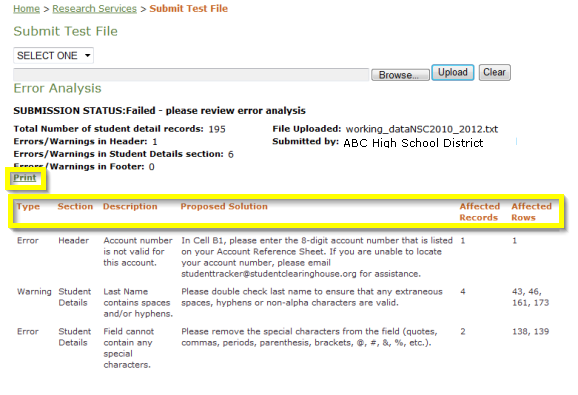
- Type Column: Indicates whether the issue is an error or a warning. You can successfully submit a file with warnings; however, you must resolve errors before you can successfully submit a file.
- Section Column: Indicates where the issue appear in the file.
- Description Column: Describes the issue.
- Proposed Solution Column: Suggests how to correct the issue.
- Number of Affective Records Column: Displays the number of total records with issues.
- Row Numbers Column: Lists the row in which the issue appears.
Resolve the errors and re-submit the file. For more information on resolving errors, see Submit a Graduates File or Submit a Request File.
