
- Academic Credentials that Can Be Verified
- Obtain Student Consent
- Create a Profile
- Open an Account
- Web Services
- Verification Services Terms and Conditions
> Academic Credentials that Can Be Verified
Verifications are available for:
- High school diploma
- Postsecondary degree or school certificate (undergraduate or graduate)
- Current enrollment within the past six months (only account holders can verify enrollment that occurred more than six months and up to 18 months ago)
- Past dates of postsecondary attendance (for someone who has NOT received a degree)
To help you save time, Verification Services enables you to perform up to three of each type of verification for a single student at one time. See the related topic, Verify Additional Degrees (doesn’t apply to high school diploma verifications).
If you want to look up participating schools:
To successfully complete a postsecondary degree or enrollment verification:
- How to Verify Academic Credentials
- Access Verification Services
- Choose the Request Type
- Search for a School
- Submit a Verification Request
- Enter Payment Information
- View a Verification
- Print a Certificate
- Print Your Receipt
- Verify Additional Degrees
> Obtain Student Consent
You can only submit an online postsecondary verification request for a student who has applied for employment with the organization you represent or who has applied for a discount, product, or service dependent on his or her student status. For high school diplomas, see High School Diploma Verifications.
In some cases, schools will not research their records for the student’s information until they see signed and dated written consent from the student authorizing the release of the information to you. As the school’s agent, the Clearinghouse may require you to fax a copy of the student’s consent to us. Upon receipt of our request, you must fax a copy of the signed consent to us within two (2) business days. If we do not receive the faxed consent from you within two business days, your request will be closed without verification.
Verification Services provides requestors with a link to a generic consent form to use. To obtain the form, you can query the pending transaction (requiring student consent) by clicking Find Past Verifications under the right menu. Click the “Show Details” link to expand the results of the transaction and select the “consent form” link.
> Create a Profile
In order to use our Verification Services, you must first create a profile indicating how you plan to use our services:
- Submit a verification request on behalf of a company – Select this option if you need to perform verification requests for individuals other than yourself on behalf of a company.
- Submit a verification request for myself – Select this option if you need to verify your own records or those of your dependent child/minor.
Submitting a Verification Request on Behalf of a Company:
> First-time users
1. Go to www.degreeverify.org ![]() .
.
2. Click the “Verify Now” button. You will be guided through a registration process to create a profile and make verification requests.

3. Select “I’m submitting a verification request on behalf of a company.”

4. Click “Next.”
5. Enter the required information about yourself and your company.
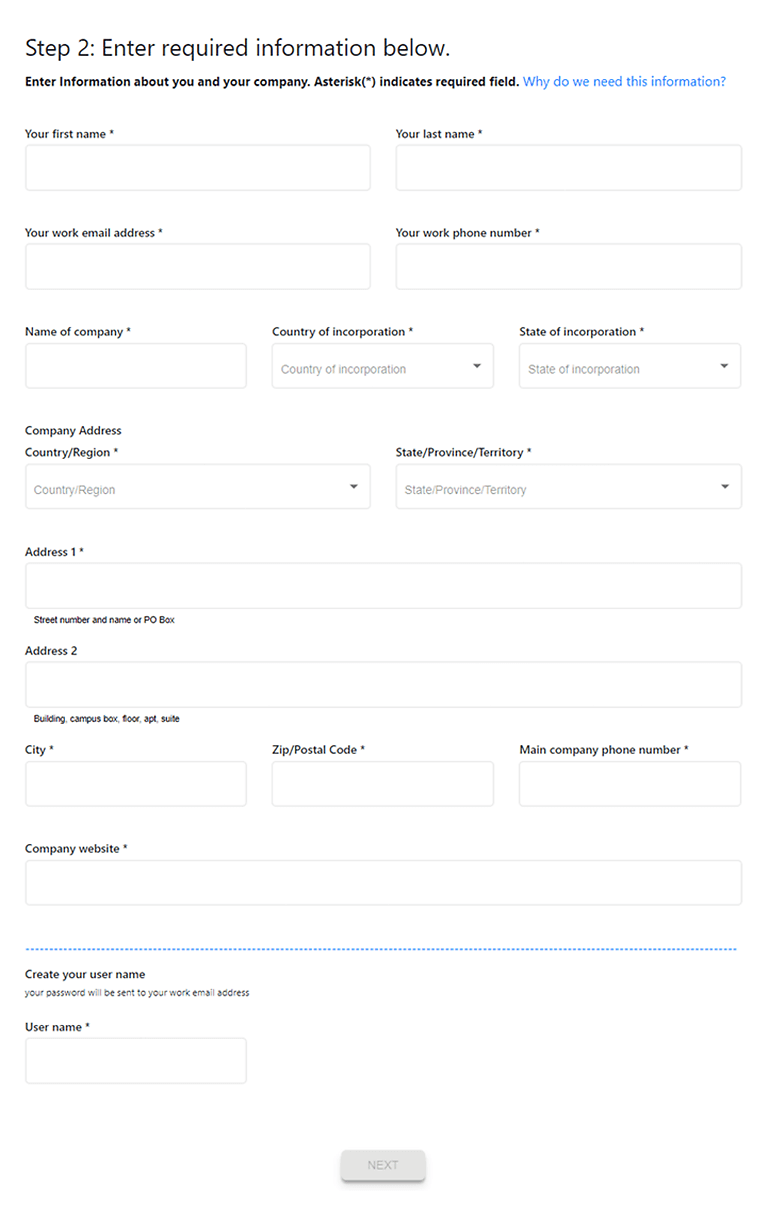
6. Click “Next.”
7. Within a few minutes, you should receive a welcome email containing a temporary password and a link where you can complete your registration.
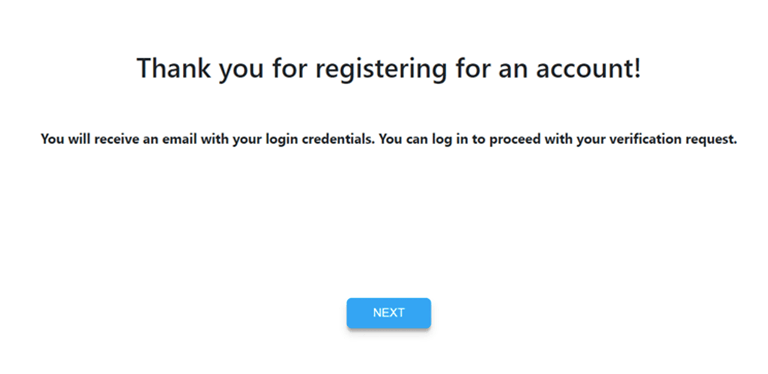
8. Click the link in the email to log in for the first time.
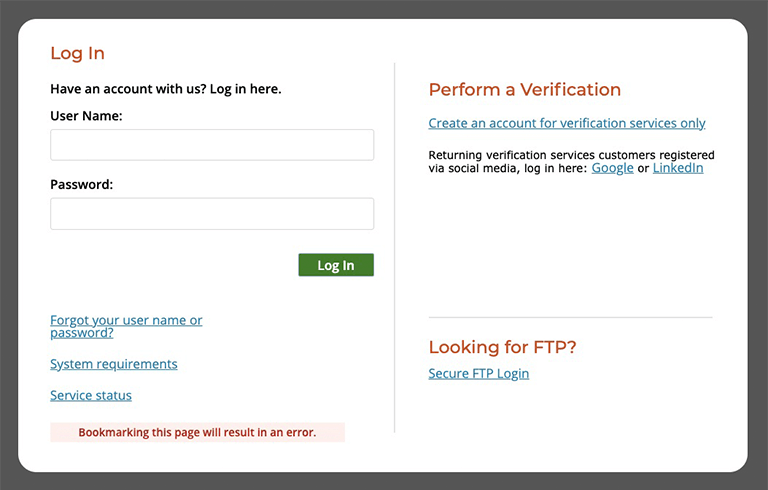
9. Using the user name you created and the temporary password in the welcome email, log in for the first time.
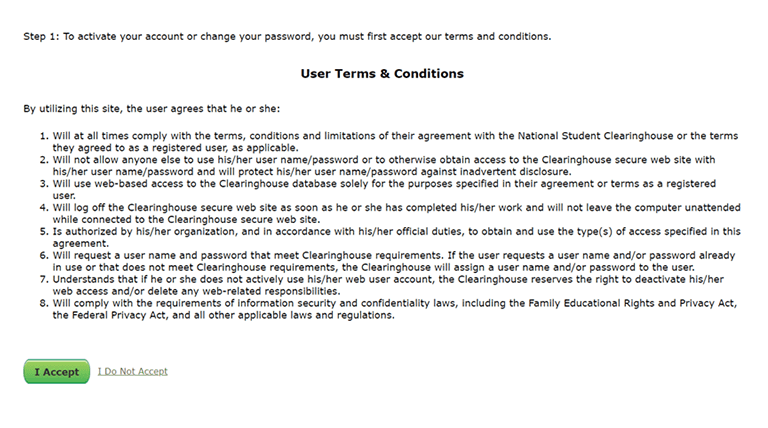
10. Before continuing, you must accept our terms and conditions.
11. After accepting our terms and conditions, you will be prompted to change your password. First, enter your temporary password, then create a new password following the password requirements listed.
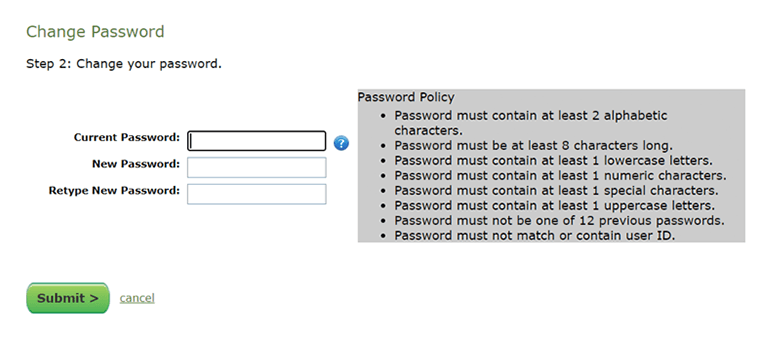
12. Click “Submit.”
13. Next, set up three challenge questions and answers to help you obtain your password if you forget it.
14. After setting up your challenge questions and answers, you will be prompted to log in for the first time.
15. Enter your user name and newly created password then click “Log In.”
16. After logging in, you create your verification request.
Submitting a Verification Request for Myself:
> First-time users
1. Go to www.degreeverify.org ![]() .
.
2. Click the “Verify Now” button. You will be guided through a registration process to create a profile, authenticate yourself, and make verification requests.
3. Select “I’m submitting a verification request for myself.”
4. Click “Next.”
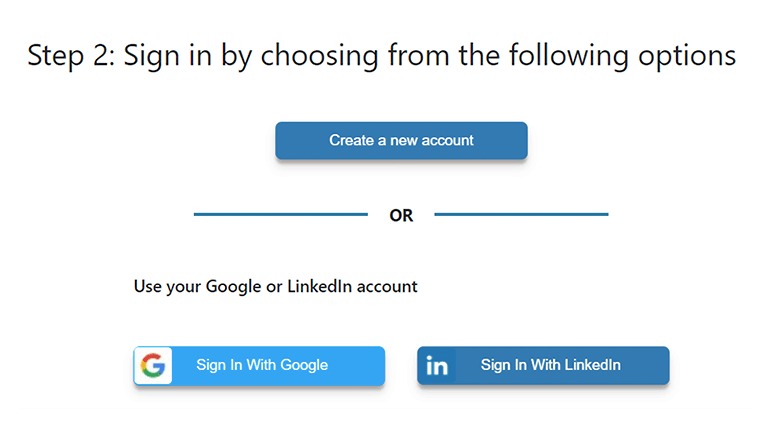
5. Select “Create a New Account” or sign in using Google or LinkedIn to create an account using your information from one of those platforms.
If you choose to sign in using your Google or LinkedIn account, enter your account credentials to continue. Signing in with your Google or LinkedIn account will also prompt you to set up multifactor authentication.
6. If you chose “Create a New Account,” you will need to enter the required information to set up your user name and password.
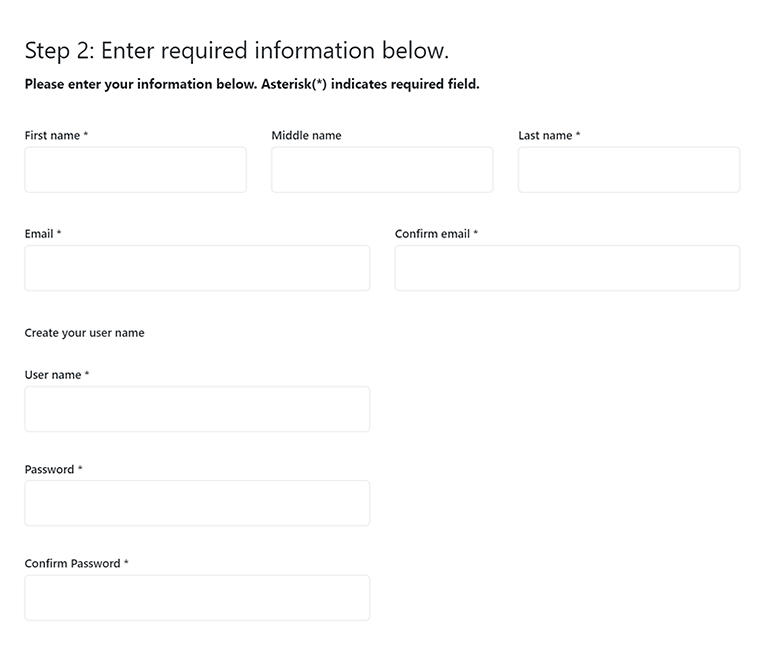
7. Click “Next” to return to the login page and enter your newly created user name and password.
8. After logging in, you will need to set up password hint questions and answers.

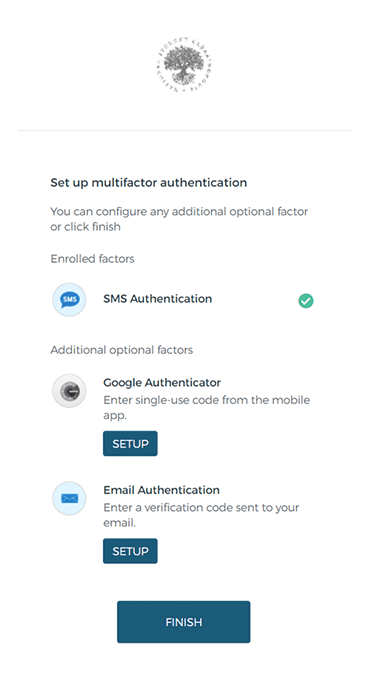
9. Next, you will need to set up at least one multifactor authentication method.
10. Select “Setup” for the method you would like to use for multifactor authentication, then follow the steps for your selection to continue.

11. If you selected SMS authentication, enter your mobile phone number and select “Send Code.”

12. You will receive a text with the SMS code. Enter the code you received, then click “Verify.”

13. You will be returned to the multifactor authentication page where you can set up a second option or click “Finish” to complete this step.
We recommend that you set up at least two multifactor authentication options in case you change one in the future.
14. After logging in, you will create your verification request by entering the information you would like to verify. Please include any previous or former names you used while in school.
Please note that this information will be used for your verification request and authentication purposes and cannot be changed after registering.

15. If we were able to authenticate you without requiring you to answer additional questions, you can proceed to step 31 below.
- If prompted to answer questions to complete your authentication, please see step 16 below.
- If prompted to complete the document upload process, please see step 17 below.
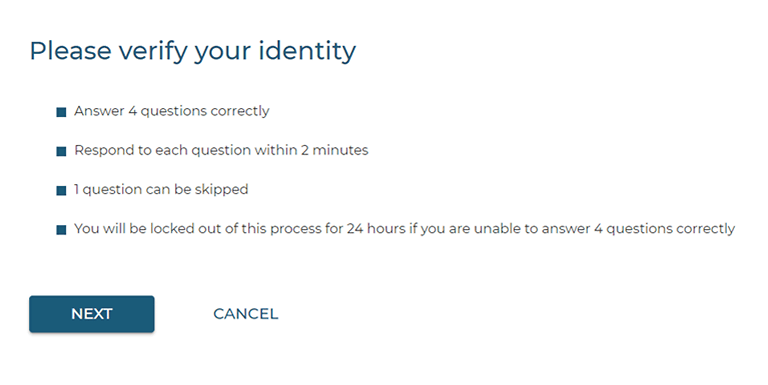
16. Click “Next” to go to the first question, then answer each question to continue.
- If you successfully answer enough questions, you will be considered authenticated and can continue.
- If you do not answer enough questions correctly, you can retry after 24 hours.
17. Click “Continue” to begin the document upload process.
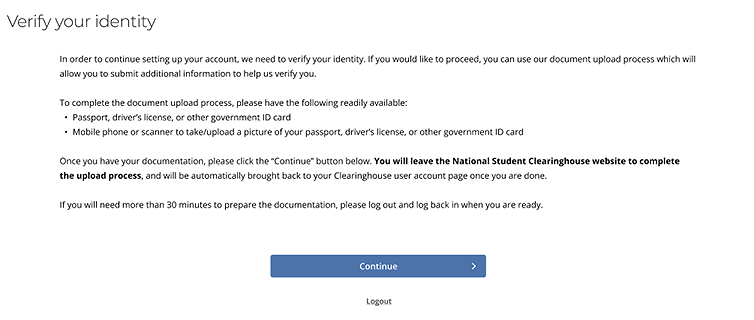
This will require you to leave the National Student Clearinghouse website.
18. You may see a set of options asking if you would like to “Continue on PC” or “Continue on Mobile Device.” It is strongly recommended that you proceed on a mobile device to ensure clear photos of your identification. The following instructions are for continuing to use your mobile device.
19. After selecting “Continue on mobile device,” you will be presented with two options to verify using your mobile device: a QR code that can be scanned using your phone’s camera or a link that can be copied and sent to your phone via email.
20. Upon successful transfer to your mobile device, you will be presented with a splash screen confirming the transfer.
21. Next, follow the instructions on your mobile device to capture photos of your identification, and a selfie to verify your identity.
22. There are three steps you will need to complete.
- Select your country (default is USA)
- Add your ID
- Take a selfie
23. To select a country other than the United States, tap on the “Select Your Country” box and choose your country from the dropdown list.
24. The second step is to upload images of your ID. Tap on “Add Your ID” and select which form of identification you will be providing, then tap on “Next Step” at the bottom of the screen.
25. You will be shown image requirements and tips for capturing a usable image of your documentation. Depending on which form of identification you are providing, you may need to capture images of both the front and back of your ID.
Image requirements:
- Place the document on a dark, flat surface in a well-lit room.
- Position the camera directly over the document (not angled) and avoid glare.
- Fill the screen, but let the background surface border all corners of the document.
To begin, tap the “Capture” button on the screen.
26. Allow access to your camera if prompted to do so by your phone security, and then follow the on-screen instructions to align your document. The system will automatically take the picture when it is aligned.
27. You will then be able to review the picture and re-take it if necessary. If required, you should also ensure that you captured the back of the document.
28. Finally, you will need to take a selfie that will be compared with the photo on your ID to verify your identity. Tap on “Take a Selfie” to begin this part of the process.
29. Tap on “Start Camera” and then capture a photo of yourself. You will be able to review your photo before finalizing the process.
30. After the three steps have been completed, you will be able to submit your documents for review by tapping “VERIFY ME.” Once you see the confirmation page, the verification process on your mobile device is finished and you can switch back to your PC to complete the remaining process and proceed with the verification request (if approved).
- If your identity was unable to be verified with your documentation, you can try again after 24 hours.
- After three unsuccessful attempts to verify your identity, your account will become locked, and you will need to contact the school directly to access your records.
31. If successfully authenticated, you will be transferred to the verification ordering page below.
32. Select the type of verification you want (degree, current enrollment, etc.). Once you’ve entered your information and made your selection, click “Submit” to select the school from which you’d like the verification.
Please note that your personal information cannot be edited, as you are only permitted to verify yourself or your minor child.
> Open an Account
We encourage organizations that perform frequent degree and/or enrollment verifications to open a Clearinghouse company account.
Account holders receive:
- Convenience of paying via credit card or monthly invoice (subject to a $100 minimum monthly fee)
- Discounted verifications
- Option to receive real-time verification data via Web services
- And more
To open an account, email us at degreeverify@studentclearinghouse.org.
> Web Services
Our Web services delivery option is available at no charge to Clearinghouse account holders. The Web services option integrates Verification Services information into your case management system, including hosted applications. Verifications are automatically transmitted in real-time into your system, eliminating the need for your staff to key in verification information. You’ll also have immediate access to new Verification Services data via your own system as soon as it becomes available.
For more information, contact degreeverify@studentclearinghouse.org.